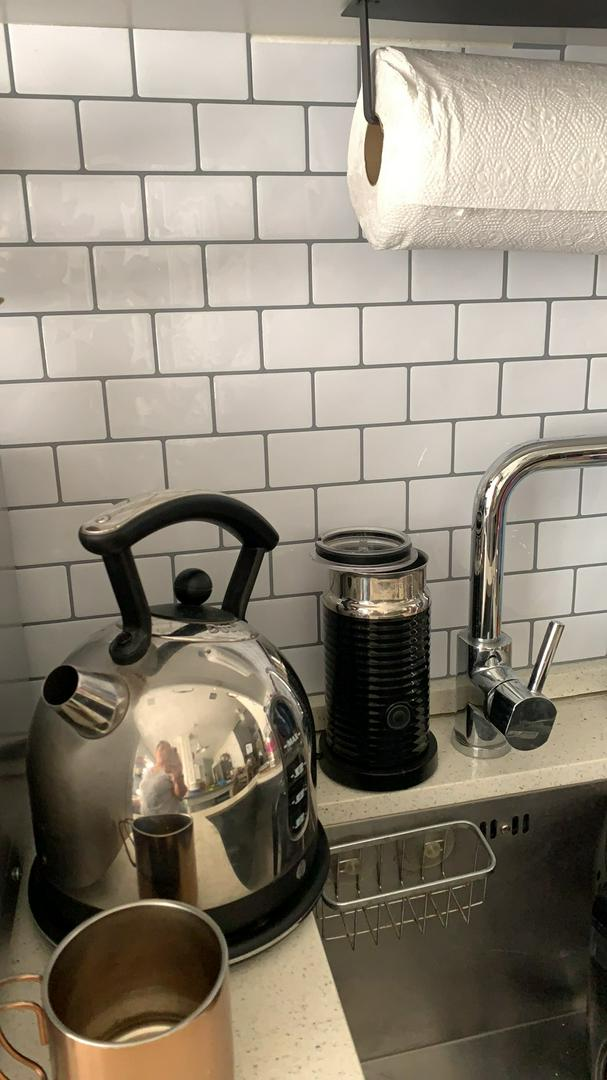
7 Easy Steps to Install Your Own DIY Mosaic Tile Backsplash
It’s not as hard to install your own DIY mosaic tile backsplash as you may have thought – here are seven easy steps to follow that will help you get the job done in no time!
Step 1: Measure the Space
The first step is measuring the space for your backsplash. The backsplash needs to be larger than the total area of mosaic tiles you plan on installing. For example, if you want a 10 x 20-inch mosaic tile backsplash, you need to measure at least 20 x 30 inches for your backsplash surface.
When deciding what shape to make, it’s best to use rectangles because they are easier to cut and create. When cutting out the shape with a jigsaw or other saws, make sure that you leave about an inch of clearance around all sides of your desired design
The next step is preparing your work area. Clear away any clutter and find a place where you can work comfortably without being disturbed.
Step 2: Plan the Design
Plan The Design
-What color scheme do you want to use?
-Do you want a border? If so, how big and what material?
-Where do you want the grout lines?
-Do you want a design in the center of your backsplash or just plain tiles?
-What type of tile is best for your space and style preference (ceramic, glass, porcelain)?
Step 3: Prepare the Substrate
When installing your own mosaic tile backsplash, the substrate is key. The substrate will be the base for your ceramic, glass, and porcelain tiles. If you are working with a stone (granite, marble or soapstone), follow step 4. Otherwise, continue to step 5. Fill any holes in the surface of your wall with spackle. You can use this time to also patch up any cracks in the surface. Next, cover all exposed surfaces with an even coat of joint compound that’s at least 1/4-inch thick. Let dry overnight and then sand down any bumps or ridges on top of it.
Step 4: Lay Out the Tiles
Once you have your outline laid out, it is time to start laying tiles. Take one tile at a time and lay the backside on the floor with the front facing up so that the adhesive side of the tile is up against the wall. Then, use a small amount of adhesive on each corner of your tile and place it on your outline. Continue this process until you have all of your tiles laid out. Lastly, use a level to ensure that all tiles are straight before proceeding with grouting.
Step 5: Start Attaching Tiles
At this point, you will have all your tiles in place and can begin attaching them. Use a grout spreader to coat the back of each tile with a thin layer of grout. Line up the wet edge of one side against the other and press down firmly, making sure that there are no gaps. Let it dry for about 10 minutes before repeating with the next section.
Step 6: Work from Top to Bottom
When it’s time to tile the top of the wall, start by using a level and pencil to mark where tiles will go. Make sure you leave enough room for grout. Continue tiling until you reach the bottom of the wall. Pay attention when laying your tiles so they are level with each other and don’t overlap.
Step 7: Maintain and Clean
One of the most important steps in maintaining your mosaic tile backsplash is keeping it clean. A quick wipe with a damp cloth or sponge should suffice for daily cleaning. For tougher stains, use soap and water and scrub them vigorously. If you need an extra boost, try using a glass cleaner or vinegar diluted with water Read more


