Do you need to clean the wood before sanding the floor?
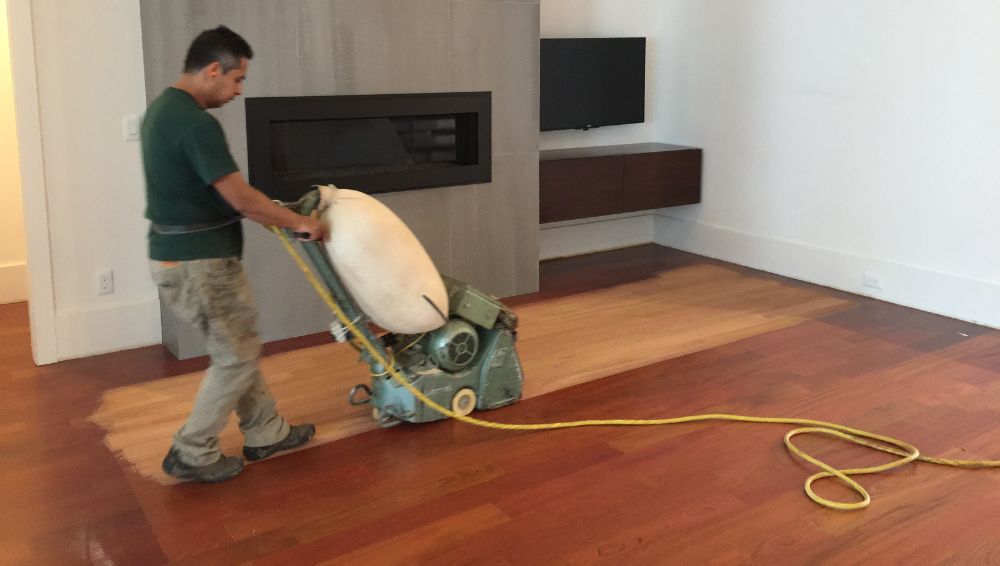
Sanding floors is part of the maintenance required regularly. For most homeowners, this might be done once every six months, or once a year. It all depends on the floor and the material.
The frequency of sanding will also depend on the amount of traffic that the floor receives. Beyond getting a good clean.
The frequency with which you need to sand your floors depends on how much foot traffic and activities you have in your home, and how much you care about the appearance of your floors.
If you’re happy with the general appearance of your floors, then you may only need to sand them every few years.
However, if you want your floors to look as good as new, you’ll want to sand down the old surface and re-seal your floor every six months.
The general rule is to sand and re-seal your floors when the finish starts to look dull or scratched. If you’re thinking about starting a wood floor restoration service.
There’s a lot you need to consider for a smooth experience and great results. One big part of that is proper preparation, whether you hire a specialist contractor or do it yourself.
Sanding is often seen as messy and stressful, but with good preparation it can, run smoothly, almost dust-free, and entirely stress-free. So let’s take a look at how to prepare…
If you’re living in Denmark and need floor sanding services in Copenhagen (gulvafslibning københavn), then GULVKBH.dk is the best resource for you.
They’re experts in the field and will be able to provide you with the best possible service.
Plan Ahead
When scheduling your home renovation project, be sure to ask your contractor for the sanding team’s schedule. This will help you plan and minimize disruption to your household.
If you are doing the project yourself, your schedule will depend on you, so be smart about it. Although there is no need to do so, having a schedule will help make the experience as smooth and bearable as possible.
By scheduling your home renovation project, you can help minimize disruptions to your household’s day-to-day life.
The project’s schedule should be based on the availability of the sanding team if you are hiring a professional contractor.
However, if you are planning it as a DIY project, your schedule will depend on you. Make sure to be smart with your time. Furthermore, although there is no strict need to do so.

Remove Furniture and Rugs
It’s important to move all furniture, decorations, and hanging art out of the room where you’re planning to refinish. Many professional services will do this for you for free.
Planning ahead and scheduling the process will help a lot and minimize the disruption to your daily life. Home renovation doesn’t have to be a day at the spa, but you can make the experience as smooth as possible.
It is very important to relocate all furniture pieces, decorations, hanging art, rugs and small knick-knacks outside the room before starting the refinishing process.
Some professional services offer removing furniture outside the room for free. Scheduling the whole process in advance will help you a lot and minimize the disruption to the day-to-day life of the whole household.
Although home renovation services are not usually associated with relaxation, you can always make sure to make the whole experience as smooth and bearable as possible.
Before beginning any refinishing project, it is very important to first relocate all furniture, decorations, hanging art, rugs and small knick-knacks outside of the room.
This will help to protect your belongings and make the refinishing process much easier. Some professional services even offer to remove furniture from the room for free.
Scheduling the entire process will help to minimize the disruption to your daily life. Renovating your home can be a big project, but there are ways to make sure the experience is as smooth and bearable as possible.

Stock on Plastic Sheets
Although almost all sanding methods today come with the guarantee of a mostly dust-free experience, it is still important to take extra precautions by covering windows and doors with plastic sheets to act as a barrier against sawdust.
Another important measure to take is to relocate all furniture, decorations, hanging art, rugs and small knick-knacks outside the room where refinishing is planned.
Some professional services even offer to remove furniture from the room for free. Planning and scheduling the whole process will help a lot to minimize the disruption to the day-to-day life of everyone in the household.
Before starting any wood refinishing project, it’s important to take some time to prep the area. This includes covering windows and doors with plastic sheets to prevent sawdust from entering the rest of the house.
It’s also important to remove all furniture, decorations, and rugs from the room. Some professional services even offer to remove furniture from the room for free. Scheduling the project in advance will help minimize the disruption to your daily life.
Ensure Good Ventilation
The drying process after the final application of the finishing product can take a while, but it’s worth it to have a beautiful and smooth floor.
Ventilation is key in speeding up the process, so open up those windows! You’ll also want to make sure the room is clean before you begin applying the finish.
Any dirt or dust particles could scratch the wood or get trapped in the finish, so it’s important to vacuum and mop beforehand.
The drying process after the final application of finishing product can take up to a couple of weeks. The better ventilation you have in the room, the faster the finish will get dry.
You want to make sure that you pre-clean your floor before starting the sanding process. This is just as important as cleaning after each stage.
You don’t want dust and dirt particles scratching the bare wood or staying trapped in the finish forever, right?
Use a powerful vacuum machine and a mop damped into a bit of water and a cleaning product that is designed for wood flooring only.
After the final coat of lacquer has been applied, it can take a couple of weeks for it to completely dry. However, the speed of the drying process can be increased by ensuring there is good ventilation in the room.
It is also crucial to clean the floor before beginning the sanding process. By using a vacuum cleaner and damp mop, you can remove any dirt or dust particles which could scratch the wood or become trapped in the finish.

Conclusion
Sanding floor can be a tedious and hard job, but it is not impossible if you know some tricks. It is best to start with a clean floor. That is why you need to clean wood before sanding floor.
First, you need to get rid of the dust that is on the floor. Use a vacuum cleaner to clean the floor. Then, you can proceed to clean wood.
Clean wood before sanding floor, because it is important to make the wood free from dirt, dust, and debris. It will also help you to save your time and effort.
One of the most common solutions for repairing wood is to sand the floor down and apply new wood finish.
There is one thing that you need to consider before starting the sanding process, however, and that is whether or not you need to clean the wood first.
For more information visit our website.


